
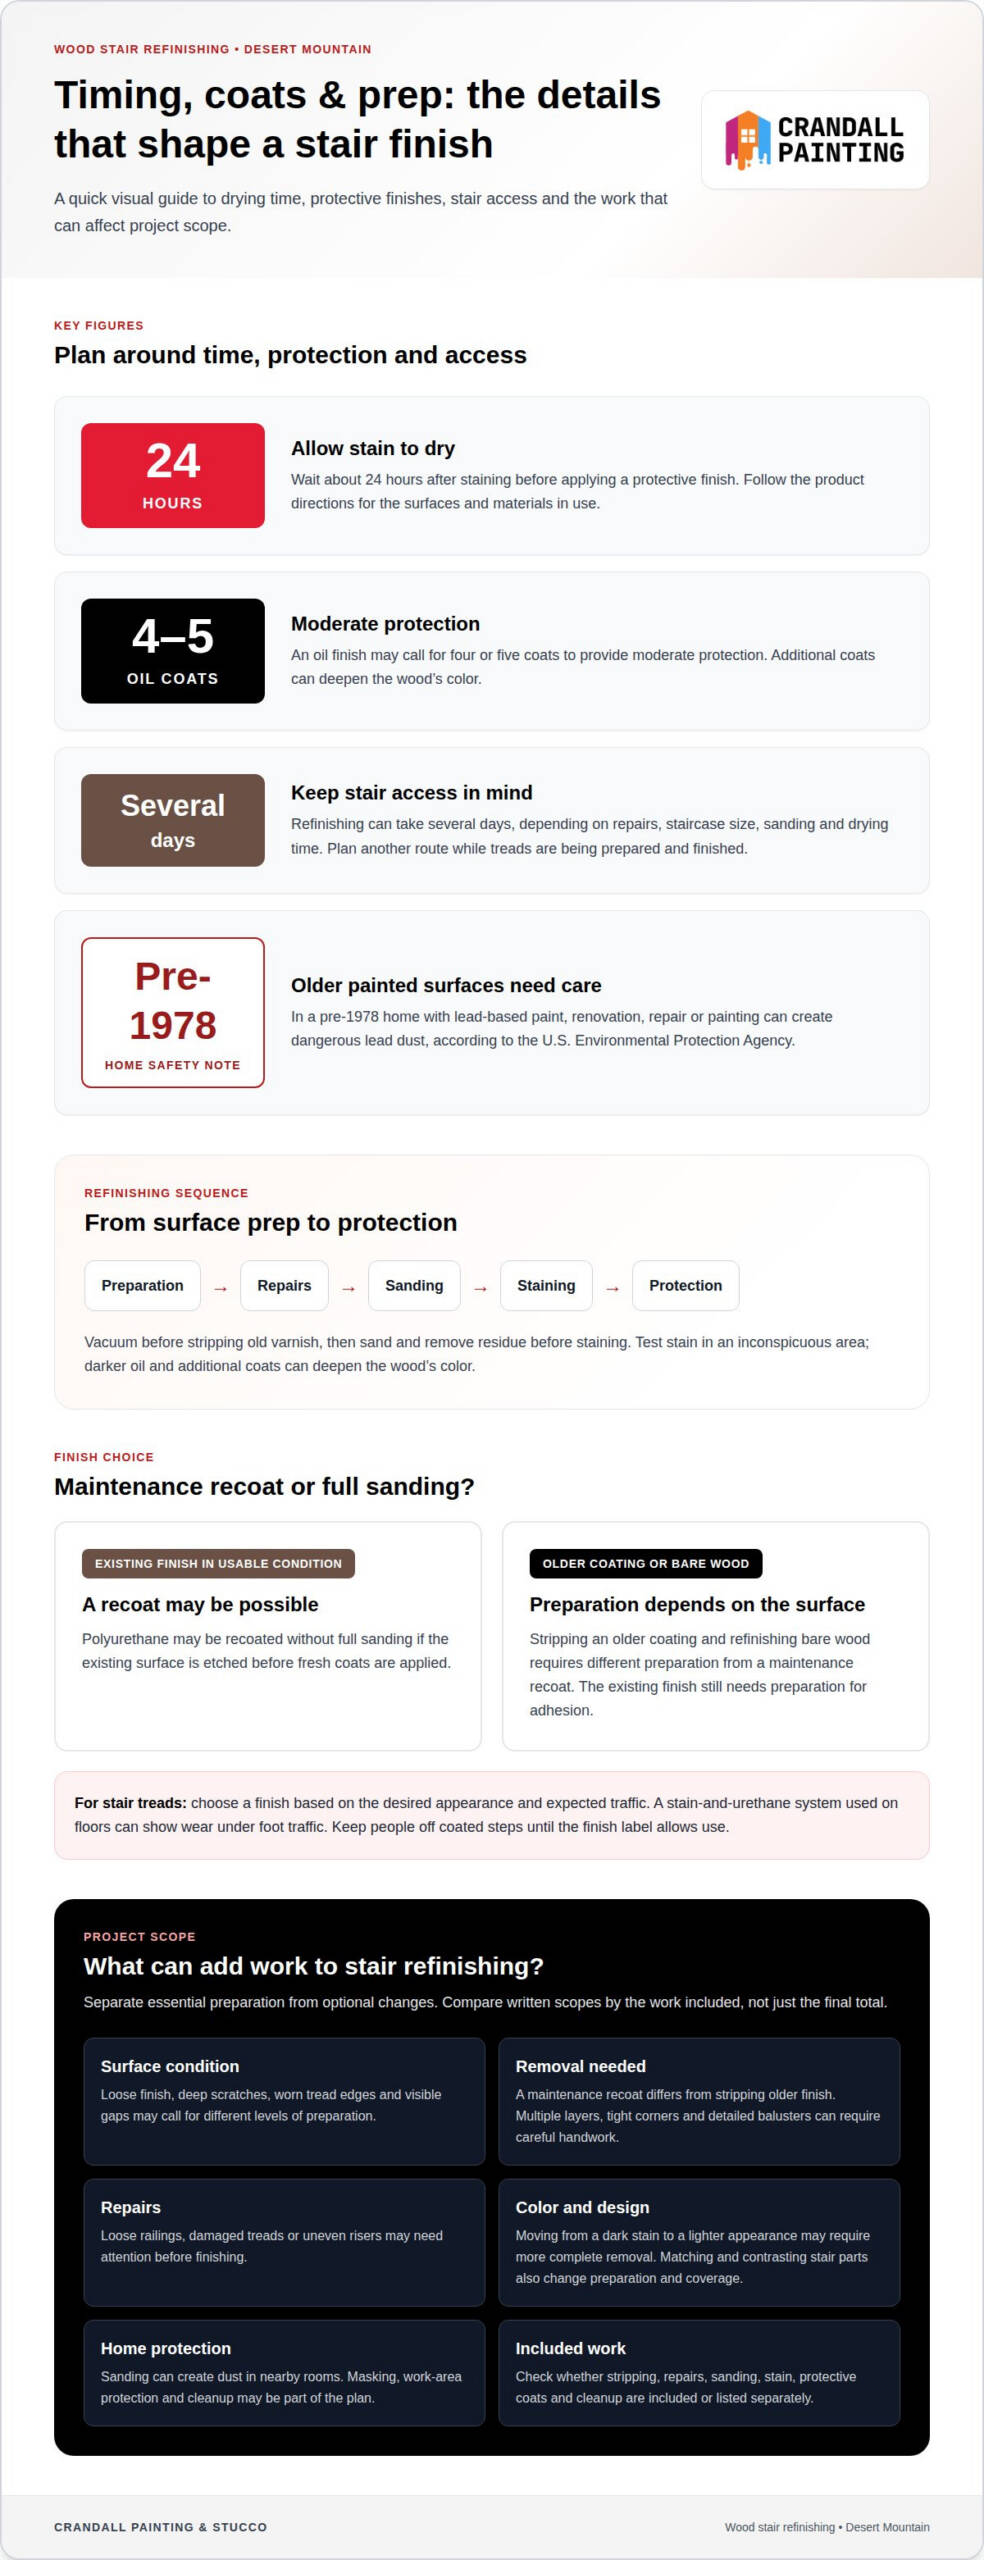
A glossy, floor-style finish isn’t automatically the right choice for stair treads. When planning wood refinishing for staircases and railings in Desert Mountain, an oil finish may call for four or five coats to provide moderate protection, with stain left to dry for about 24 hours before the next step.
Worn stairs and railings can affect the feel of an otherwise carefully finished home, so proper preparation and material choices matter. This guide explains why refinishing before summer can make sense, what details can shape the project scope, how polyurethane is applied, and which materials suit wooden railings. You’ll also learn how stripping, sanding, and selecting a protective finish affect the result, helping you plan wood refinishing for staircases and railings in Desert Mountain.
Key Takeaways
- Learn how seasonal timing and stair condition can shape the refinishing plan, including when older painted surfaces call for added safety precautions.
- Anticipate extra project work by considering the condition of the stairs, railing details, and the preparation each surface needs.
- Understand how polyurethane is applied to stair treads and when an existing finish may be recoated rather than fully sanded.
- See how stripping products, sandpaper grits, and protective finishes each contribute to a refined result on wooden railings.
Why Refinish Wooden Stairs Before Summer?
Refinishing before summer gives you time to prepare, stain, and protect each surface carefully. Plan around drying time, access through the home, and the finish you select.
-
Arrange Preparation and Stair Access
Clear the stairway and nearby landing before work begins. Plan another route through the home while the treads are being prepared and finished. Stair refinishing can take several days, depending on repairs, staircase size, sanding, and drying time. Keep people off coated steps until the finish label allows use, since a fresh surface can be slippery.
For contractor comparisons, review written scope, warranty terms, insurance documentation, and reviews describing similar stair projects. Community approval depends on applicable rules and scope: refinishing existing surfaces differs from changing railing design. Dust and fumes require careful work-area control. In a pre-1978 home with lead-based paint, renovation, repair, or painting can create dangerous lead dust, according to the U.S. Environmental Protection Agency.
-
Stain the Treads, Risers, and Railings
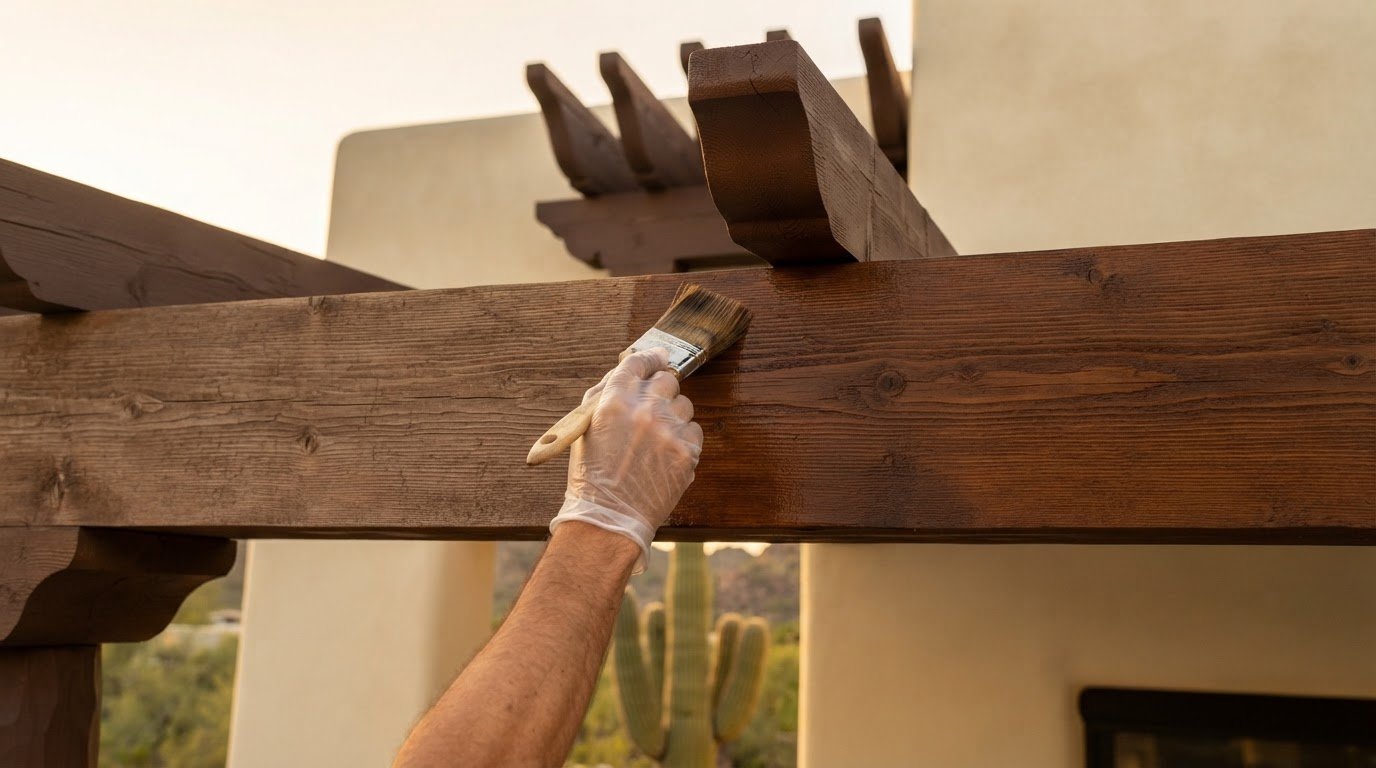
Choose a stain color and railing treatment that suit the wood and the home’s interior finishes. Natural-looking treads with contrasting risers create a different effect from matching all the stair parts. Test the stain in an inconspicuous area, since darker oil and additional coats deepen the wood’s color. Vacuum the stairs before stripping old varnish, then sand and remove residue before staining.
Stain treads, risers, and railings in a consistent sequence, following the product’s directions. Allow stain to dry for about 24 hours before applying a protective finish. A typical refinishing sequence moves from preparation and repairs to sanding, staining, and protection.
-
Apply a Protective Finish
Choose a finish based on the desired appearance and expected stair traffic. Four or five coats of oil provide moderate protection, while additional coats can darken the wood. A stain-and-urethane system used on floors can show wear under foot traffic. Polyurethane may be recoated without full sanding if the existing surface is etched before applying fresh coats.
Full sanding isn’t always necessary for maintenance, but the existing finish still needs preparation for adhesion. Keep people off the stairs until the coating has dried as directed. A staged process helps protect treads and railings while limiting dust, fumes, and slip exposure.
Additional costs of stair refinishing
Separate essential surface preparation from optional changes before setting the project scope. The final price depends on the case and is provided after a quote request.
- Document the existing condition before work begins. Note loose finish, deep scratches, worn tread edges, and visible gaps. Localized damage may call for focused repairs, while widespread deterioration can require more preparation across the staircase. The condition of both treads and railings affects the work involved.
- Clarify how much finish needs to be removed. A maintenance recoat requires different preparation from stripping an older coating and refinishing bare wood. Multiple finish layers, tight corners, and detailed balusters can require careful handwork. Review the proposed scope to distinguish surface preparation from staining and protective coating.
- Include repairs as a separate scope item. A loose railing, damaged tread, or uneven riser may need attention before finishing. Replacing or correcting a component adds work beyond sanding and coating. Identify affected parts early so the plan accounts for repairs rather than treating them as finish work.
- Consider design choices that affect preparation. Changing from a dark stain to a lighter appearance may require more complete removal than refreshing a similar tone. Staining treads and railings to match also differs from contrasting wood with painted risers. Each choice affects preparation and finish coverage.
- Plan to protect the surrounding home. Stairways connect rooms, and sanding can create dust that settles on nearby surfaces. The work plan may include masking, protecting the work area, and cleanup. Restricted access can also affect how the work is staged, especially when the staircase is the main route between floors.
- Compare written scopes by the steps included, not just the final totals. Check whether stripping, repairs, sanding, stain, protective coats, and cleanup are included or listed separately. For wood staining and refinishing, a clearly defined scope helps match finish choices to the stairs’ actual condition.
Applying polyurethane
- Confirm the stain is dry and the tread surface is clean. Dust, grit, or residue can become trapped beneath a clear coating and remain visible. Inspect corners, edges, and the area beside each riser. Follow the polyurethane label for surface preparation and application conditions before opening the container.
- Choose a polyurethane intended for the wood surface and planned use. Read the directions for compatible stains, application tools, and recoat intervals. Product instructions are essential because formulas differ. Keep the container and label accessible throughout the work, especially when planning later coats or cleaning application tools.
- Apply a thin, even coat across each tread, working methodically from one edge to the other. Use a suitable brush or applicator to reach corners and the tread’s front edge. Avoid leaving pools near nosings or along risers. A smooth, consistent layer helps prevent visible ridges and uneven sheen.
- Coat stair parts in a planned sequence that preserves access. Treat risers and railings carefully, keeping drips off finished treads. Check the grain and reflected light for missed patches, bubbles, or runs. Correct defects only as the product directions allow, rather than working over a coating that has begun to set.
- Apply multiple coats to stair treads, since refinishing requires more than one protective layer. Follow the label’s instructions between coats, including any required preparation and recoat interval. Don’t assume a surface is ready just because it feels dry. The manufacturer’s directions determine when to apply the next coat.
- For maintenance, a sound existing polyurethane finish can be etched and recoated with a fresh coat or two, without sanding. This approach suits a coating that needs renewal, not damaged wood or a failing finish. Let the final coat dry according to its directions before using the stairs again, and protect it from dust during that time.
Materials for refinishing wood stair railings
Match each material to the railing’s shape, existing coating, and desired finish. Baluster grooves need different tools from a broad handrail.
- Select a stripping product suited to the old varnish and detailed woodwork. Citrus-based formulations can strip varnish, while a plastic scraper can lift softened coating. Follow product directions and test a small, inconspicuous area first. Avoid forcing a scraper into carved details, where it could mark the wood.
- Choose abrasives according to the surface condition. For most stair refinishing, 60-80 grit removes old finish, scratches, and surface damage. Move to 100-120 grit to smooth the wood, then use 150-180 grit for the final sanding stage. Railings with delicate profiles need controlled hand sanding.
- Use a detail sander with a triangular head for tight corners and narrow transitions. Its shape can reach spots a broad orbital sander misses, such as areas beside balusters and at railing joints. Keep the tool moving and use light pressure on rounded edges to avoid flattening the profile.
- Prepare separate sanding materials for flat and shaped areas. Abrasive paper works around turned spindles, while a detail sander suits accessible corners. Remove sanding dust before applying stain or a clear protective finish. Dust in carved grooves can interrupt an even surface and remain visible beneath the coating.
- Choose the final material based on whether you want to change the wood’s color. Stain changes the tone and highlights the grain; polymerized tung oil or wipe-on polyurethane can protect wood without adding color. Test the selected finish in a discreet area, since the same product can look different on different wood tones.
- Gather the stripper, scraper, sanding abrasives, dust-removal supplies, and chosen finish before starting. Keeping materials organized helps maintain a deliberate sequence from coating removal through final protection. For help planning the right materials for your railing, discuss your refinishing project.
Crandall Painting & Stucco: Wood Staining and Refinishing
Crandall Painting & Stucco provides wood staining and refinishing for staircases and railings that need renewed color or a carefully applied protective finish. This service suits projects where worn coating, uneven color, or detailed railing components make the work more involved than a simple maintenance recoat. Thoughtful refinishing can coordinate treads, risers, and handrails with the home’s interior finishes.
Before work begins, the scope reflects the wood’s condition, existing finish, and desired result. This helps align preparation and finish choices, whether you want to refresh a natural tone or apply a deeper stain. Interior painting may also complement the renewed woodwork. Contact Crandall Painting & Stucco for a free, no-obligation estimate for your staircase and railing refinishing project.
Shape the Finish Around Your Home
Decide how the renewed staircase should feel within your home: quietly natural, richly toned, or coordinated with surrounding finishes. A clear preference for color and sheen helps guide wood refinishing for staircases and railings in Desert Mountain, while the wood’s condition determines the preparation needed.
For a broader refresh, staircase refinishing can complement interior painting, while exterior painting and stucco repair address separate surfaces around the home. Keeping each project’s scope clear helps create a cohesive look without treating distinct materials as one task.
When you’re ready to discuss your staircase and railing, contact Crandall Painting & Stucco. A considered finish can bring renewed character to a well-used part of your home.
Frequently Asked Questions
Quick Answer: What Sandpaper Grit Should You Use for Wooden Stairs?
Use 60-80 grit to remove old finish or surface damage, then 100-120 grit to smooth the wood. Finish with 150-180 grit before staining or applying a protective coating. A damaged tread may need the coarser stage, while a lightly worn stair may require less aggressive sanding. Match the abrasive to the wood’s condition and the preparation required.
What is the typical cost to refinish wooden stairs and railings in the Scottsdale area?
There isn’t one typical price for every staircase. For wood refinishing for staircases and railings in Desert Mountain, the estimate depends on factors such as tread condition, railing detail, finish removal, repairs, and the selected coating. Crandall Painting & Stucco provides a free, no-obligation estimate, with price upon request. A defined project scope is more useful for planning than a generic per-stair figure.
How do contractors price stair refinishing per step, railing, or project?
Pricing may be organized by stair, railing, or the complete project, but the estimate should clarify what each format includes. A per-step calculation may not include detailed balusters or repairs unless they’re listed. A project quote can combine preparation, refinishing, and railing work. Crandall Painting & Stucco provides a detailed estimate, making it easier to understand the proposed work and its pricing.
What wood finishes work best for staircases in Arizona’s dry, sunny climate?
Choose a finish based on the staircase’s location, desired color, and expected foot traffic. For wood refinishing for staircases and railings in Desert Mountain, polymerized tung oil or wipe-on polyurethane can protect wood without adding color. Stain changes the tone, and additional oil coats can deepen it. Follow the product directions for the surface and application, particularly on stairs exposed to direct sunlight.